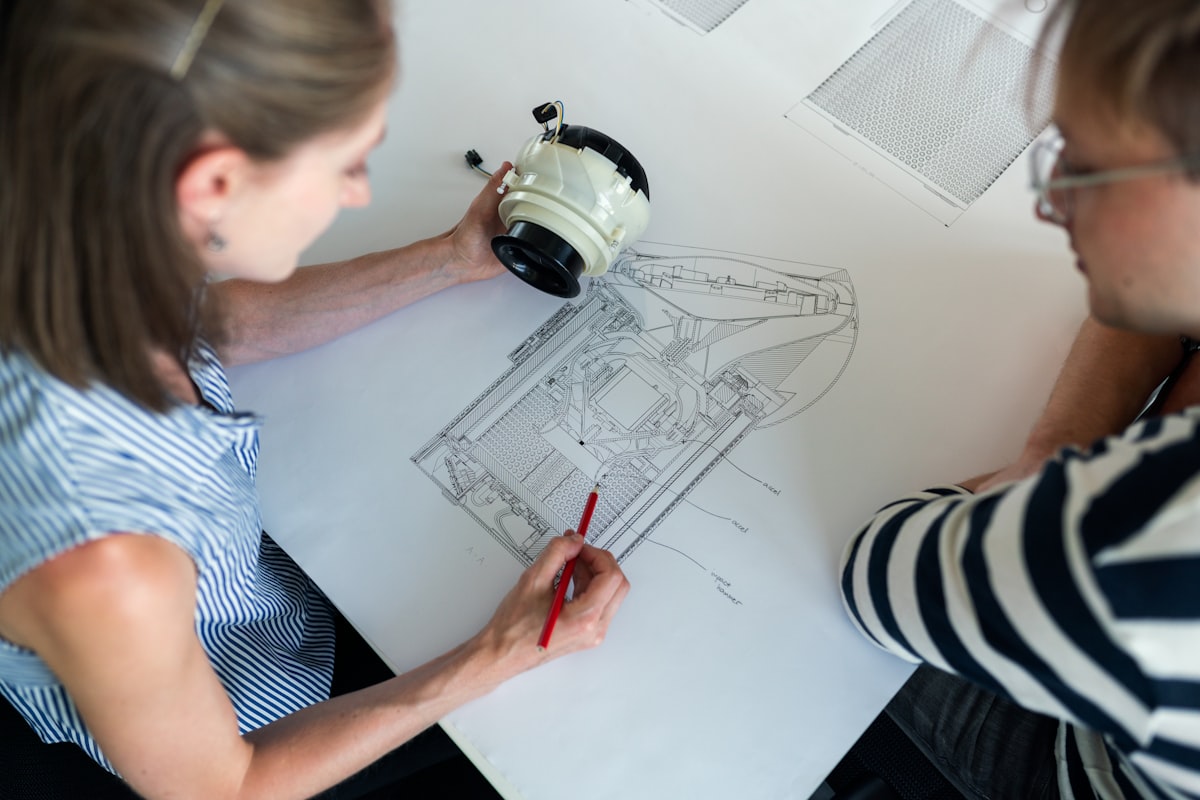
The quality of rewinding directly depends on adherence to technology. Let's look at the stages of stator rewinding so that you understand how competent repairs are carried out and what to pay attention to.
Stage 1. Removing parameters and disassembling
Before disassembling, the winding data is recorded: the number of turns, wire cross-section, laying pattern, pitch. This is critical - without precise parameters, the new winding will not match the original. The engine is then disassembled.
Step 2. Removing the old winding
The old winding is removed after softening the insulation by annealing in an oven at a controlled temperature. It is important not to overheat the stator iron, so as not to deteriorate its magnetic properties.
Step 3. Preparing the slots
The slots are cleaned of insulation residues, the iron is checked, and new slot insulation of the required heat resistance class is laid.
Step 4. Winding and laying
- Winding the coils with rated wire sections.
- Laying in grooves according to the diagram.
- Connection of coil groups.
- Banding of the frontal parts.
Stage 5. Impregnation and drying
The winding is impregnated with varnish and dried in an oven. Impregnation holds the turns together, improves heat dissipation and protects against moisture - a stage that cannot be skimped on.
Step 6. Assembly and testing
| Test | What it checks |
|---|---|
| Insulation resistance | Insulation quality |
| No-load current stroke | Correct winding |
| Revolutions and heating | Performance |
Following all the steps is the difference between a rewind that will last for years and one that will fail in months. Professional stator rewinding ends with full tests.
Do you need rewinding according to all the rules in Tashkent? Elektromotors engineers follow technology at every stage - leave a request.